
Up until very recently I was employed at FoxGuard Solutions and had the pleasure of working with FoxGuard’s resident mad scientist, Monta Elkins. Monta loves to tinker and is especially enthralled with the vast array of projects which can be undertaken with small, programmable logic boards like the Arduino. Now, I’ve played around with these things before but never seriously. Yet, somehow, I let Monta talk me into collaborating with him on a small project.
Personally, I think this is just his attempt to get me more invested in the builder community. “Come to the dark side” they said, “we have projects.
Nonetheless, at my going-away lunch, Monta dropped this guy on my lap with nary a word of explanation but asked that I document my struggles.
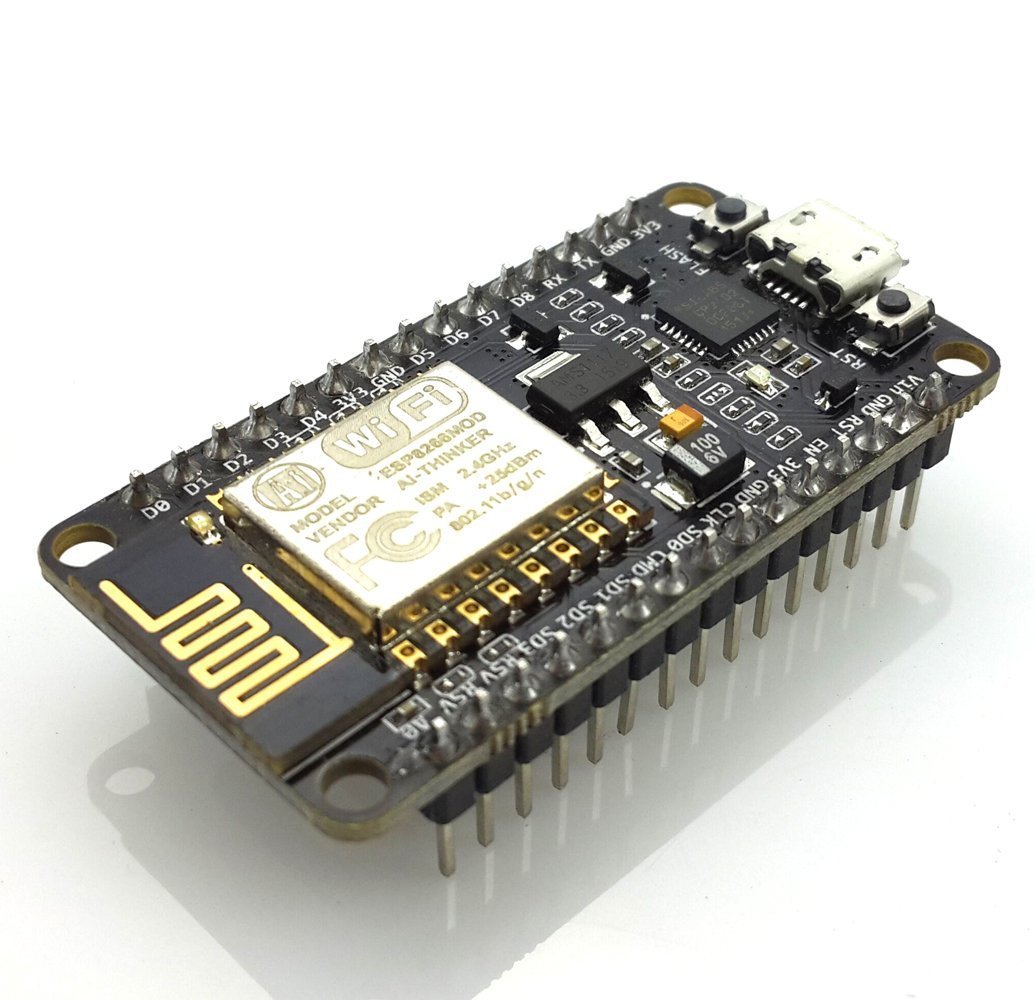
Now, if you’re well versed in the hardware hacking community it’s probably obvious what this thing is but it took me a bit of research to work out how I was supposed to work with it.
Attempt #1: I naively fired up my Arduino editor from some long-forgotten project and verified that I could neither talk to this thing nor identify any obvious way in which I was supposed to talk to it.
Attempt #2: On the back of the board it says “Node MCU Amica” and offers a web address that I can go to. From this I learned that there’s apparantly an entire community of people who build firmware for this thing in a number of languages and that, if I’m brave enough, I can possibly brick this thing by flashing new firmware onto it. Also, there’s a button about the size of a pinhead on this labeled “flash” that I’m almost certainly going to press at some point and regret shortly thereafter. None of this told me much of anything helpful about how to start developing for this thing.
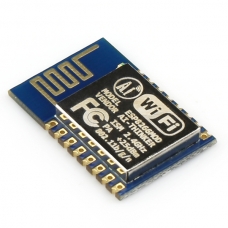
Attempt #3: On the largest and most obvious chip on this board, in Enron-Beelzebub font is written ESP8266MOD. Googling that gets you to a page documenting a TinySine product which looks like someone took a pair of pruning sheers and trimmed off about 35% of the device I have in front of me
Attempt #4: Discouraged, I did some more aimless Googling before landing on searching for the phrase “NodeMCU Amica” figuring that, while there was an address printed on the back of the chip, maybe there was some better resource out there that at least talked about the thing. That took me to Amazon and this device
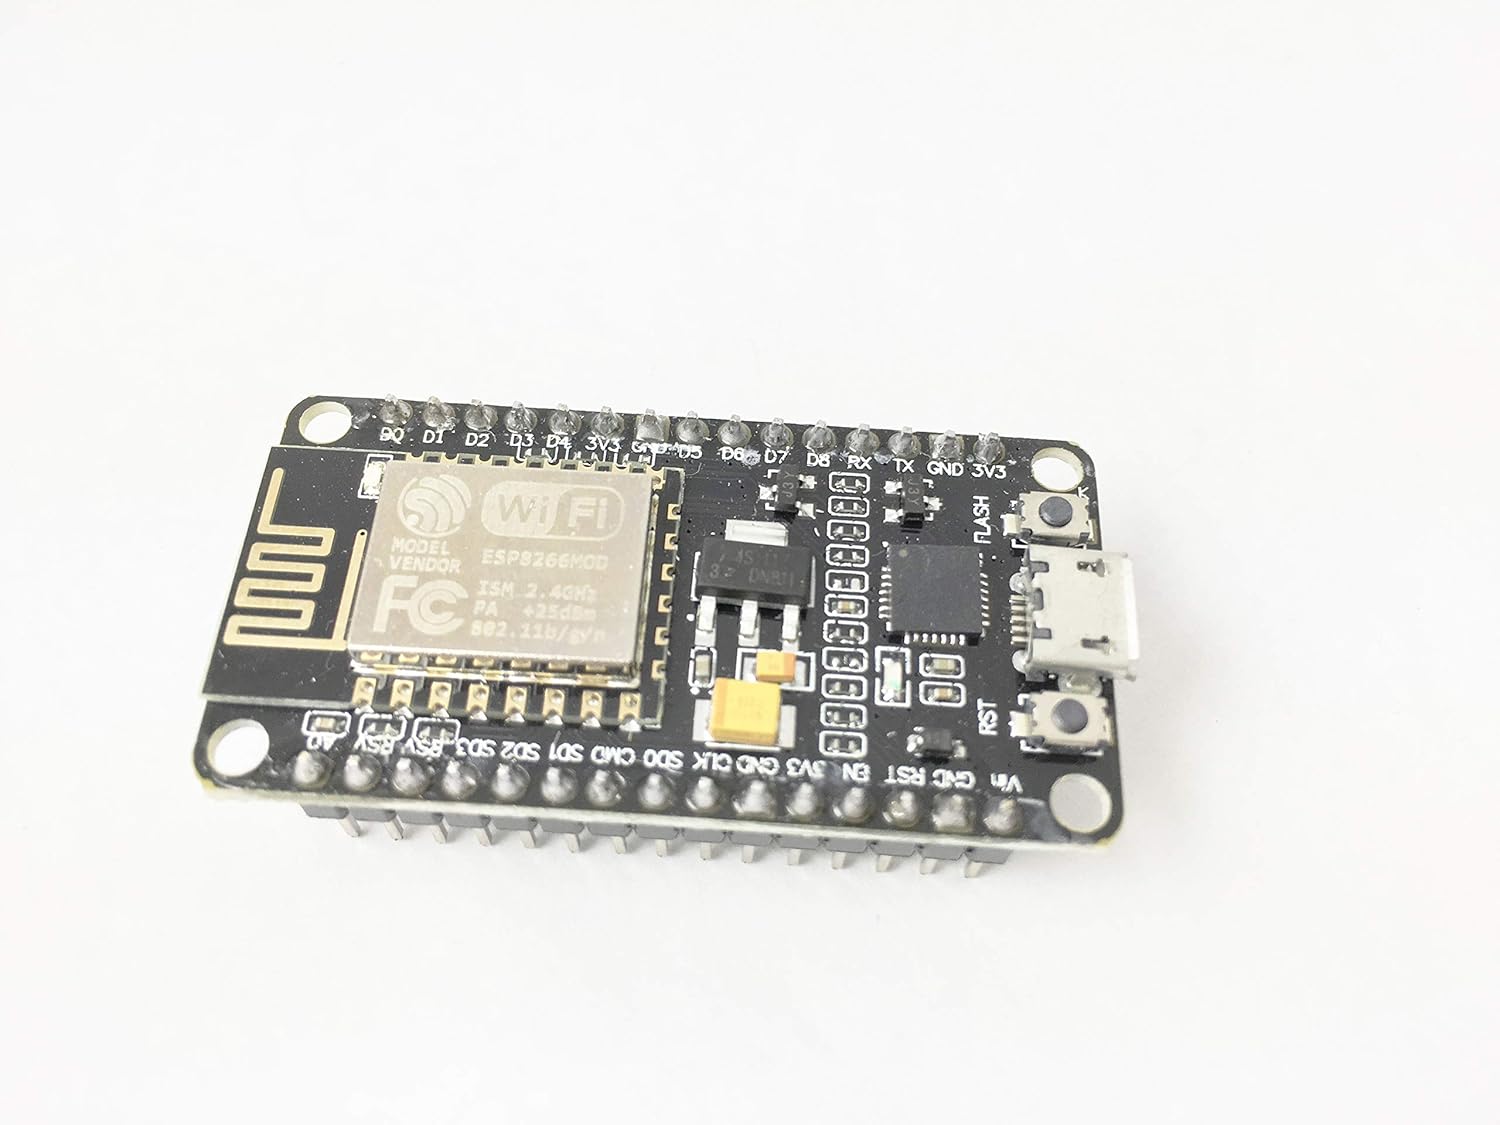
That looks close but not quite the same. At this point I’m thinking that, while I have no idea how to make this play nice with others, surely someone trying to sell it on the internet will have some barebones documentation to get me started. No luck on the page I’d landed on, but “Customers who viewed this item also viewed” the “HiLetgo New Version ESP8266 NodeMCU LUA CP2102 ESP-12E Internet WiFi Development Board Open Source Serial Wireless Module Works Great with Arduino IDE/Micropython” which, though a mouthful of a product name, had an image that nearly perfectly matched my device.
But more importantly, it also had instructions for getting started developing on it.
Instruction & Steps of How to use:
- Download the Arduino IDE, the latest version.
- Install the IDE
- Set up your Arduino IDE as: Go to File->Preferences and copy the URL below to get the ESP board manager extensions: http://arduino.esp8266.com/stable/package_esp8266com_index.json Placing the http:// before the URL lets the Arduino IDE use it…otherwise it gives you a protocol error.
- Go to Tools > Board > Board Manager> Type “esp8266” and download the Community esp8266 and install.
- Set up your chip as:
Tools -> Board -> NodeMCU 1.0 (ESP-12E Module)
Tools -> Flash Size -> 4M (3M SPIFFS)
Tools -> CPU Frequency -> 80 Mhz
Tools -> Upload Speed -> 921600
Tools–>Port–> (whatever it is) - Download and run the 32 bit flasher exe at Github(Search for nodemcu/nodemcu-flasher/tree/master/ at Github)
github.com/nodemcu/nodemcu-flasher/tree/master/Win32/Release
Or download and run the 64 bit flasher exe at:
github.com/nodemcu/nodemcu-flasher/tree/master/Win64/Release - In Arduino IDE, look for the old fashioned Blink program. Load, compile and upload.
- Go to FILE> EXAMPLES> ESP8266> BLINK, it will start blinking.
Leave a Reply

Photos


